To get started, we need two dependencies: zig (0.9.1) for building the OS and qemu (7.0.0) for emulating it.

Initialize project

Create a new directory called os, enter it and initialize the project with zig:

$ mkdir os
$ cd os
$ zig init-exe
info: Created build.zig
info: Created src/main.zig
info: Next, try `zig build --help` or `zig build run`

The boot code

To be able to run our kernel, we must make it freestanding and compatible with multiboot. We will use a custom linker script with some code in build.zig and src/main.zig to achieve this.

Create a file in the root of our project named linker.ld with following content:

ENTRY(_start)

SECTIONS {
    . = 1M;

    .text : ALIGN(4K) {
        KEEP(*(.multiboot))
        *(.text)
    }

    .rodata : ALIGN(4K) {
        *(.rodata)
    }

    .data : ALIGN(4K) {
        *(.data)
    }

    .bss : ALIGN(4K) {
        *(COMMON)
        *(.bss)
    }
}

This script tells the linker how to set up our kernel image. First it tells us that the start location of our binary is _start. It then tells the linker that the .text section (that's where all your code goes) should be first. The .text section starts at 1MB and contains the .multiboot code that we will specify in main.zig. Then we have the .rodata section which is for read-only initialised data, such as constants. The .data section is for initalised static data, and the .bss section is for uninitialised static data.

Build system

Inside our build.zig we need to specify target (x86), make the binary freestanding and enable our custom linker script. We will also create a run command to start qemu with "zig build run":

const std = @import("std");

pub fn build(b: *std.build.Builder) void {
    const mode = b.standardReleaseOptions();
    const target = .{ .cpu_arch = .i386, .os_tag = .freestanding };

    const os = b.addExecutable("os.elf", "src/main.zig");
    os.setLinkerScriptPath(.{ .path = "linker.ld" });
    os.code_model = .kernel;
    os.want_lto = false;
    os.setBuildMode(mode);
    os.setTarget(target);
    os.install();

    const run_cmd = b.addSystemCommand(&.{
        "qemu-system-i386",
        "-kernel",
        "zig-out/bin/os.elf",
        "-display",
        "gtk,zoom-to-fit=on",
    });
    run_cmd.step.dependOn(&os.install_step.?.step);

    const run_step = b.step("run", "Run the os");
    run_step.dependOn(&run_cmd.step);
}

Multiboot

Multiboot is a standard describing how a bootloader can load an x86 operating system kernel. It is a way for the bootloader to:

  1. Know exactly what environment the kernel wants/needs when it boots
  2. Allow the kernel to query the environment it is in

To make our kernel multiboot compatible, we need to add a header structure in the first 4KB of the kernel. Lets add multiboot to src/main.zig:

const ALIGN = 1 << 0;
const MEMINFO = 1 << 1;
const MAGIC = 0x1BADB002;
const FLAGS = ALIGN | MEMINFO;

const MultiBoot = packed struct {
    magic: i32,
    flags: i32,
    checksum: i32,
};

export var multiboot align(4) linksection(".multiboot") = MultiBoot{
    .magic = MAGIC,
    .flags = FLAGS,
    .checksum = -(MAGIC + FLAGS),
};

export var stack: [16 * 1024]u8 align(16) linksection(".bss") = undefined;

export fn _start() callconv(.Naked) noreturn {
    @call(.{ .stack = &stack }, main, .{});
    while (true)
        asm volatile ("hlt");
}

fn main() void {}

We can finally run the kernel with "zig build run":

blank.webp
Figure 1: Booting into blank screen

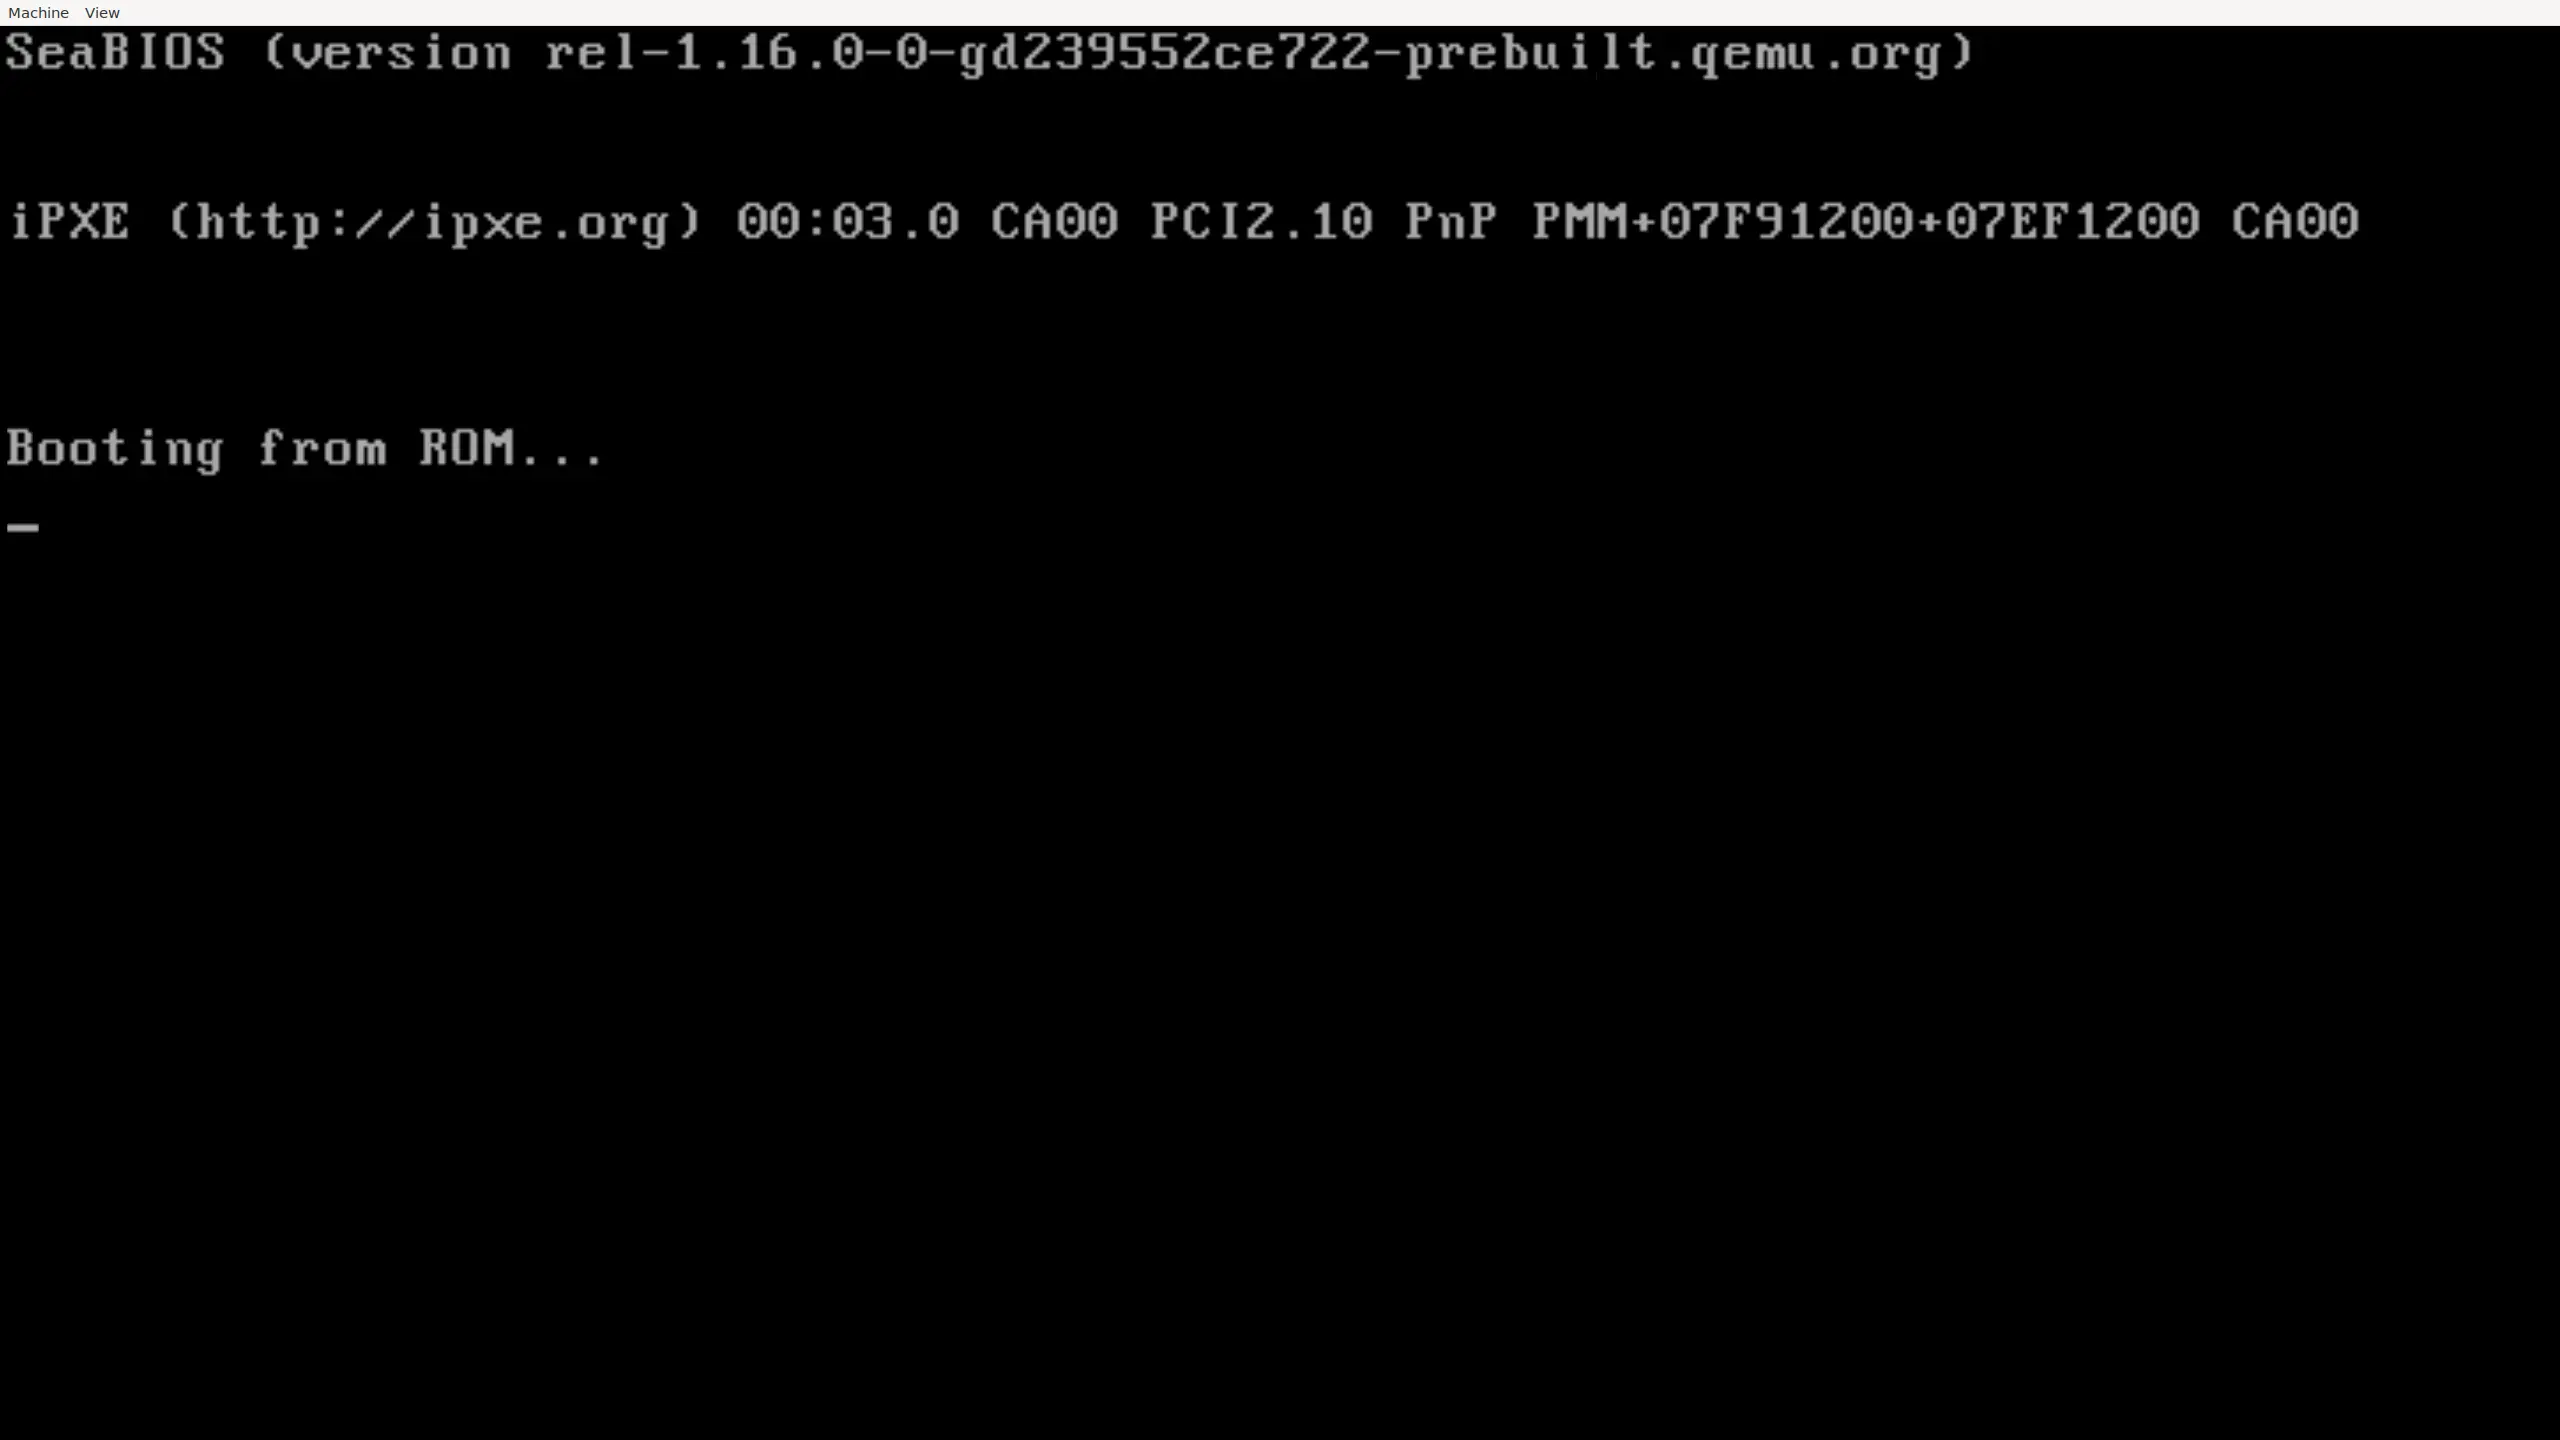
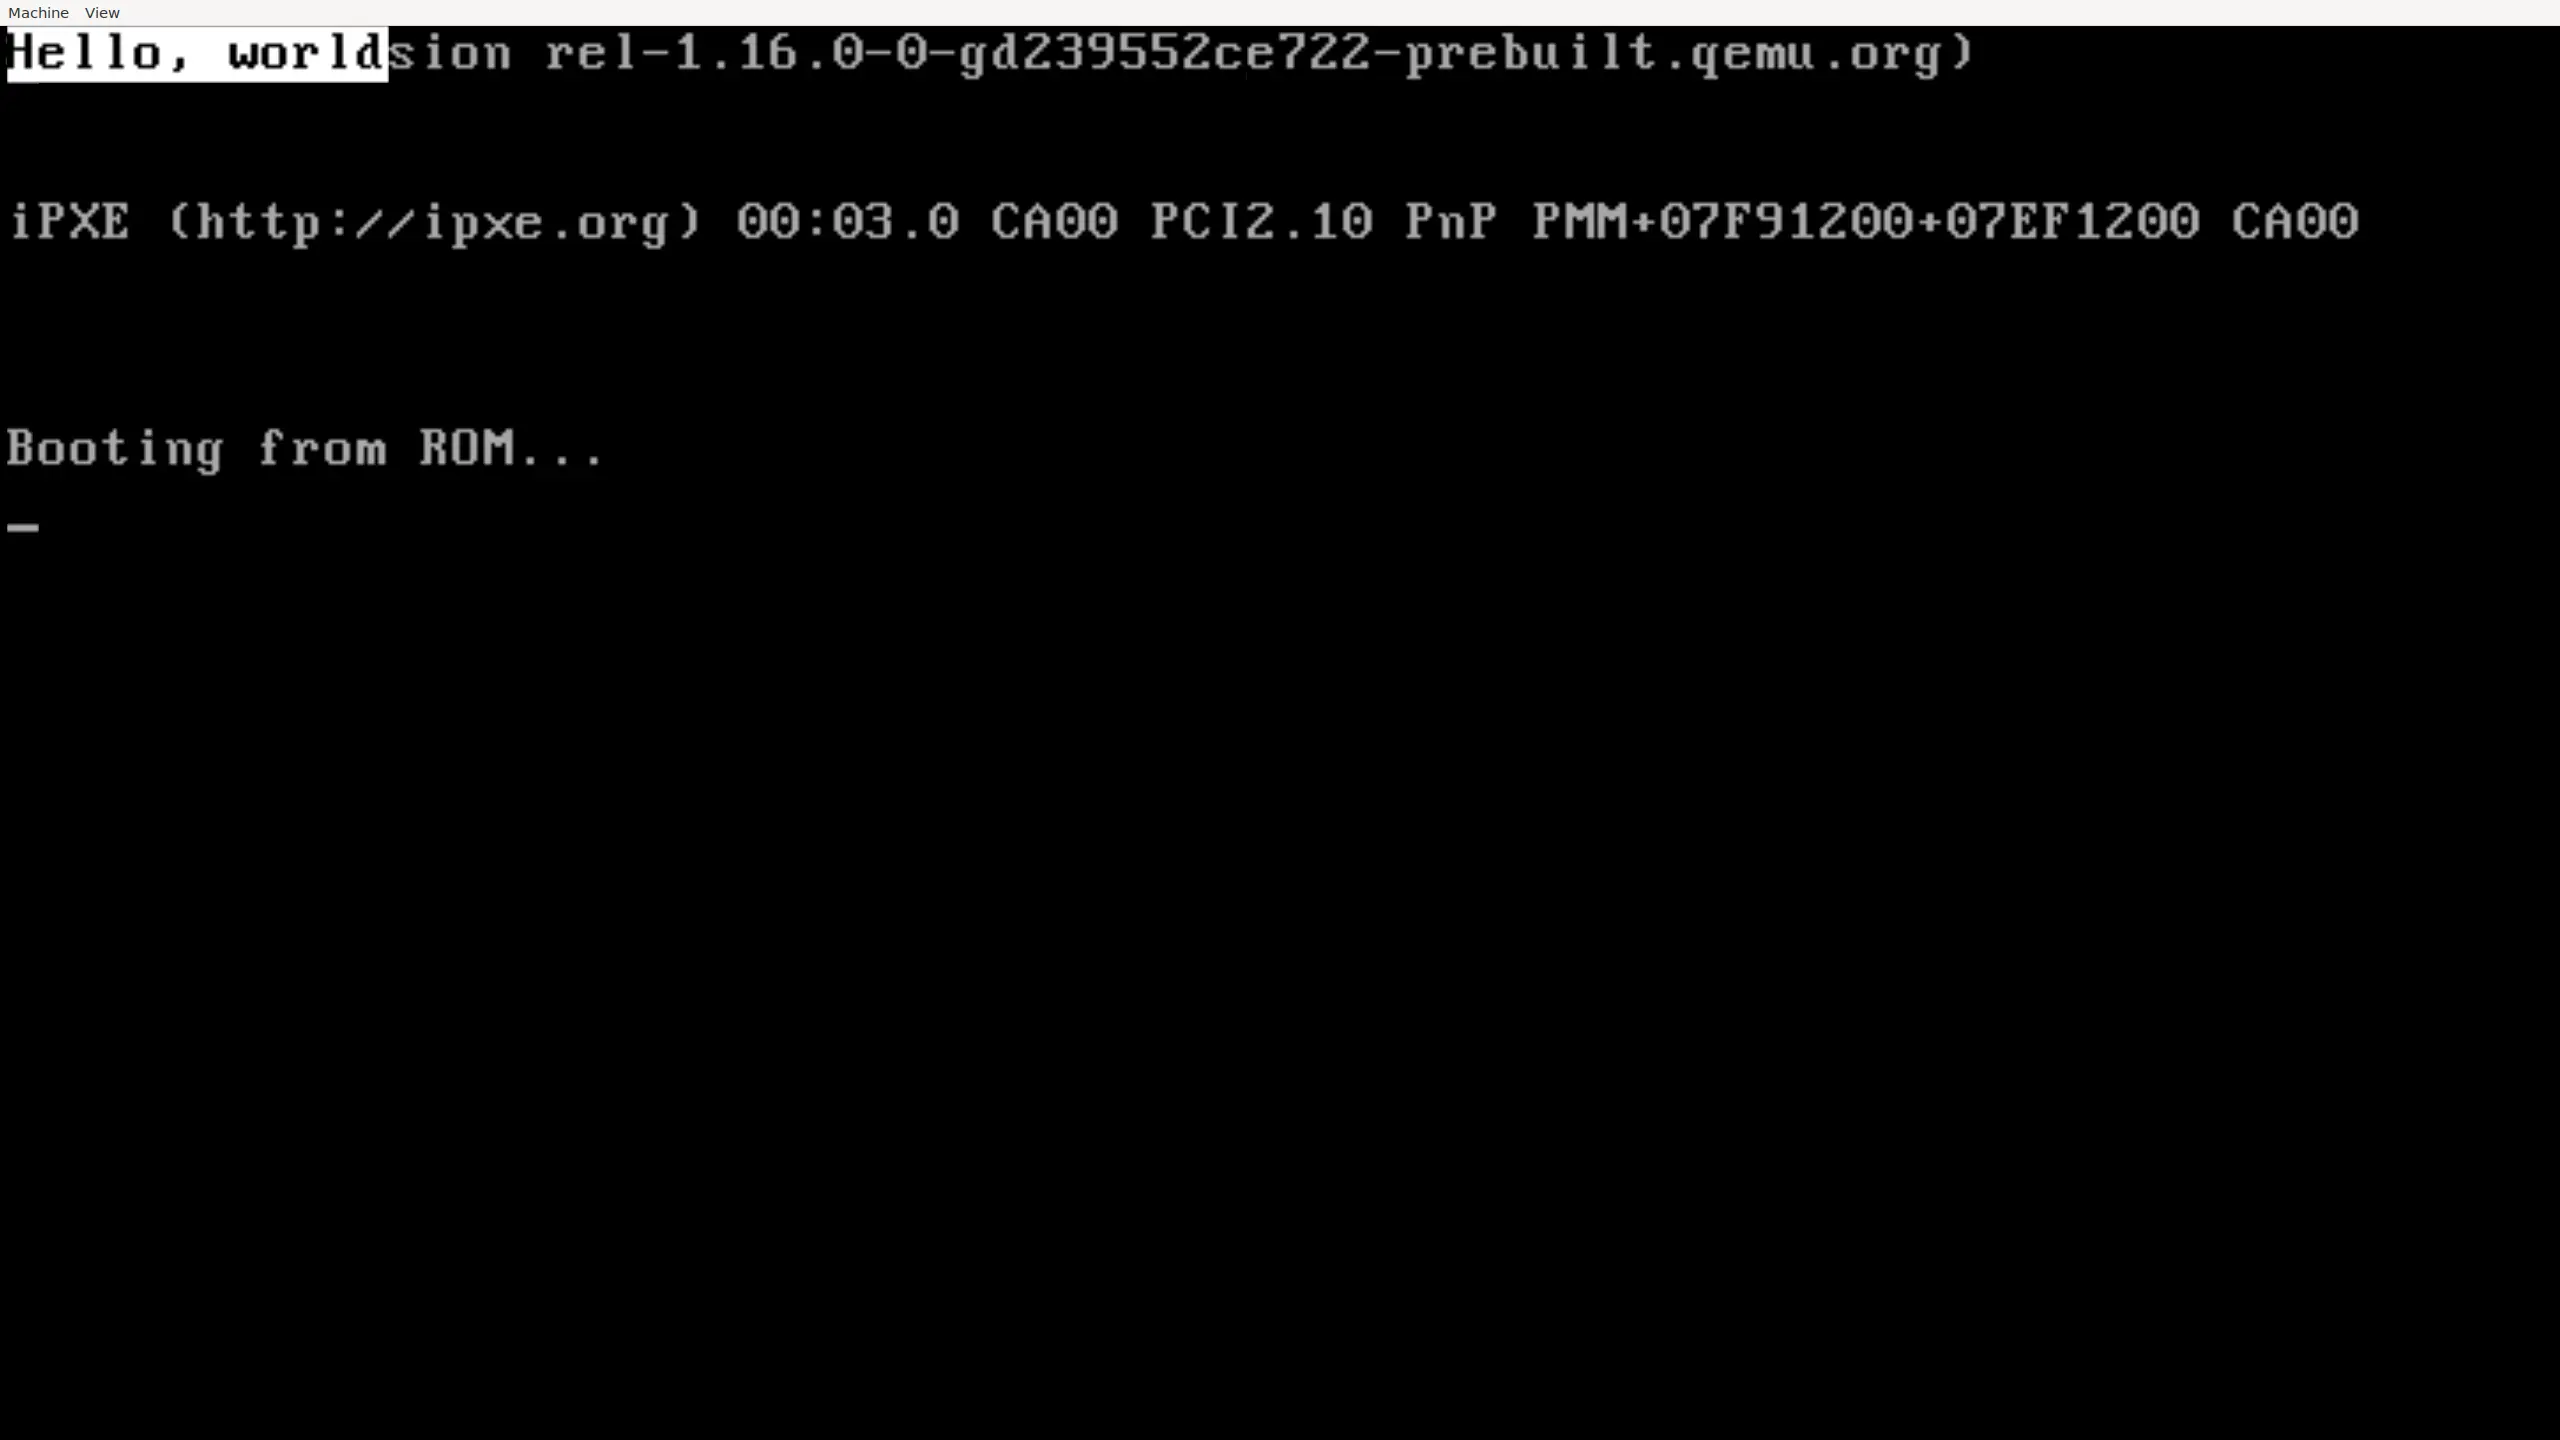
The fact that qemu is not crashing is a sign that our kernel is working! Since a blank screen is quite boring to look at, lets add some text by writing directly to video memory:

fn main() void {
    const vga_buffer = @intToPtr([*]volatile u16, 0xB8000);
    inline for ("Hello, world") |byte, i|
        vga_buffer[i] = 0xF0 << 8 | @as(u16, byte);
}

I will explain how this works in the next part of this series. For now, take a look at this beauty:

hello-world.webp
Figure 2: Kernel that prints "Hello, world"
os
├── src
│   └── main.zig
├── build.zig
└── linker.ld