The practice
Lets start by creating src/Console.zig and adding some variables:
var row: u16 = 0;
var column: u16 = 0;
var color: u16 = 0x0F;
var buffer = @intToPtr([*]volatile u16, 0xB8000);
The buffer is similar to previous post. row and column will be used to store cursor position. color will be set to 0x0F, which is white on black. Next, lets add a function to clear the screen:
pub fn init() void {
    var i: usize = 0;
    while (i < 80 * 25) : (i += 1)
        buffer[i] = color << 8 | ' ';
}
And another function to write to it:
fn newLine() void {
    row += 1;
    column = 0;
}

fn incrementCursor() void {
    column += 1;
    if (column >= 80)
        new_line();
}

pub fn write(text: []const u8) void {
    for (text) |byte| {
        if (byte == '\n')
            newLine()
        else {
            const i = row * 80 + column;
            buffer[i] = color << 8 | @as(u16, byte);
            incrementCursor();
        }
    }
    moveCursor(row, column);
}
This is very straightforward. When writing a string (which is []const u8 in Zig), we check if the character is \n, and if it is, we reset column to 0 and increment row by one. Otherwise, we calculate the correct index, write the character to the buffer and increment the cursor.
The moveCursor(row, column) function is missing, however. We need two helper functions to write into memory-mapped IO. These helper functions are called inb and outb in assembly. inb is for reading a byte, while outb is for writing a byte to some port. We will define these functions in src/utils.zig:
pub inline fn inb(port: u16) u8 {
    return asm volatile ("inb %[port], %[result]"
        : [result] "={al}" (-> u8),
        : [port] "N{dx}" (port),
    );
}

pub inline fn outb(port: u16, value: u8) void {
    asm volatile ("outb %[value], %[port]"
        :
        : [port] "N{dx}" (port),
          [value] "{al}" (value),
    );
}
volatile here means that the instruction will be run regardless of whether the compiler notices that it does something or not.
In order to use these functions in src/Console.zig, we add following at the top:
const utils = @import("utils.zig");
const inb = utils.inb;
const outb = utils.outb;
Now we're ready to create the moveCursor(row, column) function:
pub fn moveCursor(cursor_row: u16, cursor_column: u16) void {
    const position = cursor_row * 80 + cursor_column;
    outb(0x3D4, 0x0F);
    outb(0x3D5, @truncate(u8, position));
    outb(0x3D4, 0x0E);
    outb(0x3D5, @truncate(u8, position >> 8));
}
To move the cursor, we first calculate the index. Since we can only send one byte at a time, we write the position in two parts. 0x3D4 is the controller's command port, and 0x3D5 is where we send the byte. 0x0F tells the VGA board that we are setting the high cursor byte. 0x0E does the same for the low cursor byte.
The last thing we're missing is setting the color. From theory we know that colors are mapped to specific values. This can be represented with an enum:
const Color = enum(u8) {
    black,
    blue,
    green,
    cyan,
    red,
    magenta,
    brown,
    light_grey,
    dark_grey,
    light_blue,
    light_green,
    light_cyan,
    light_red,
    light_magenta,
    light_brown,
    white,
};
To set the color we use @enumToInt with some bit-shifting:
pub fn setColor(foreground: Color, background: Color) void {
    color = @enumToInt(background) << 4 | @enumToInt(foreground);
}
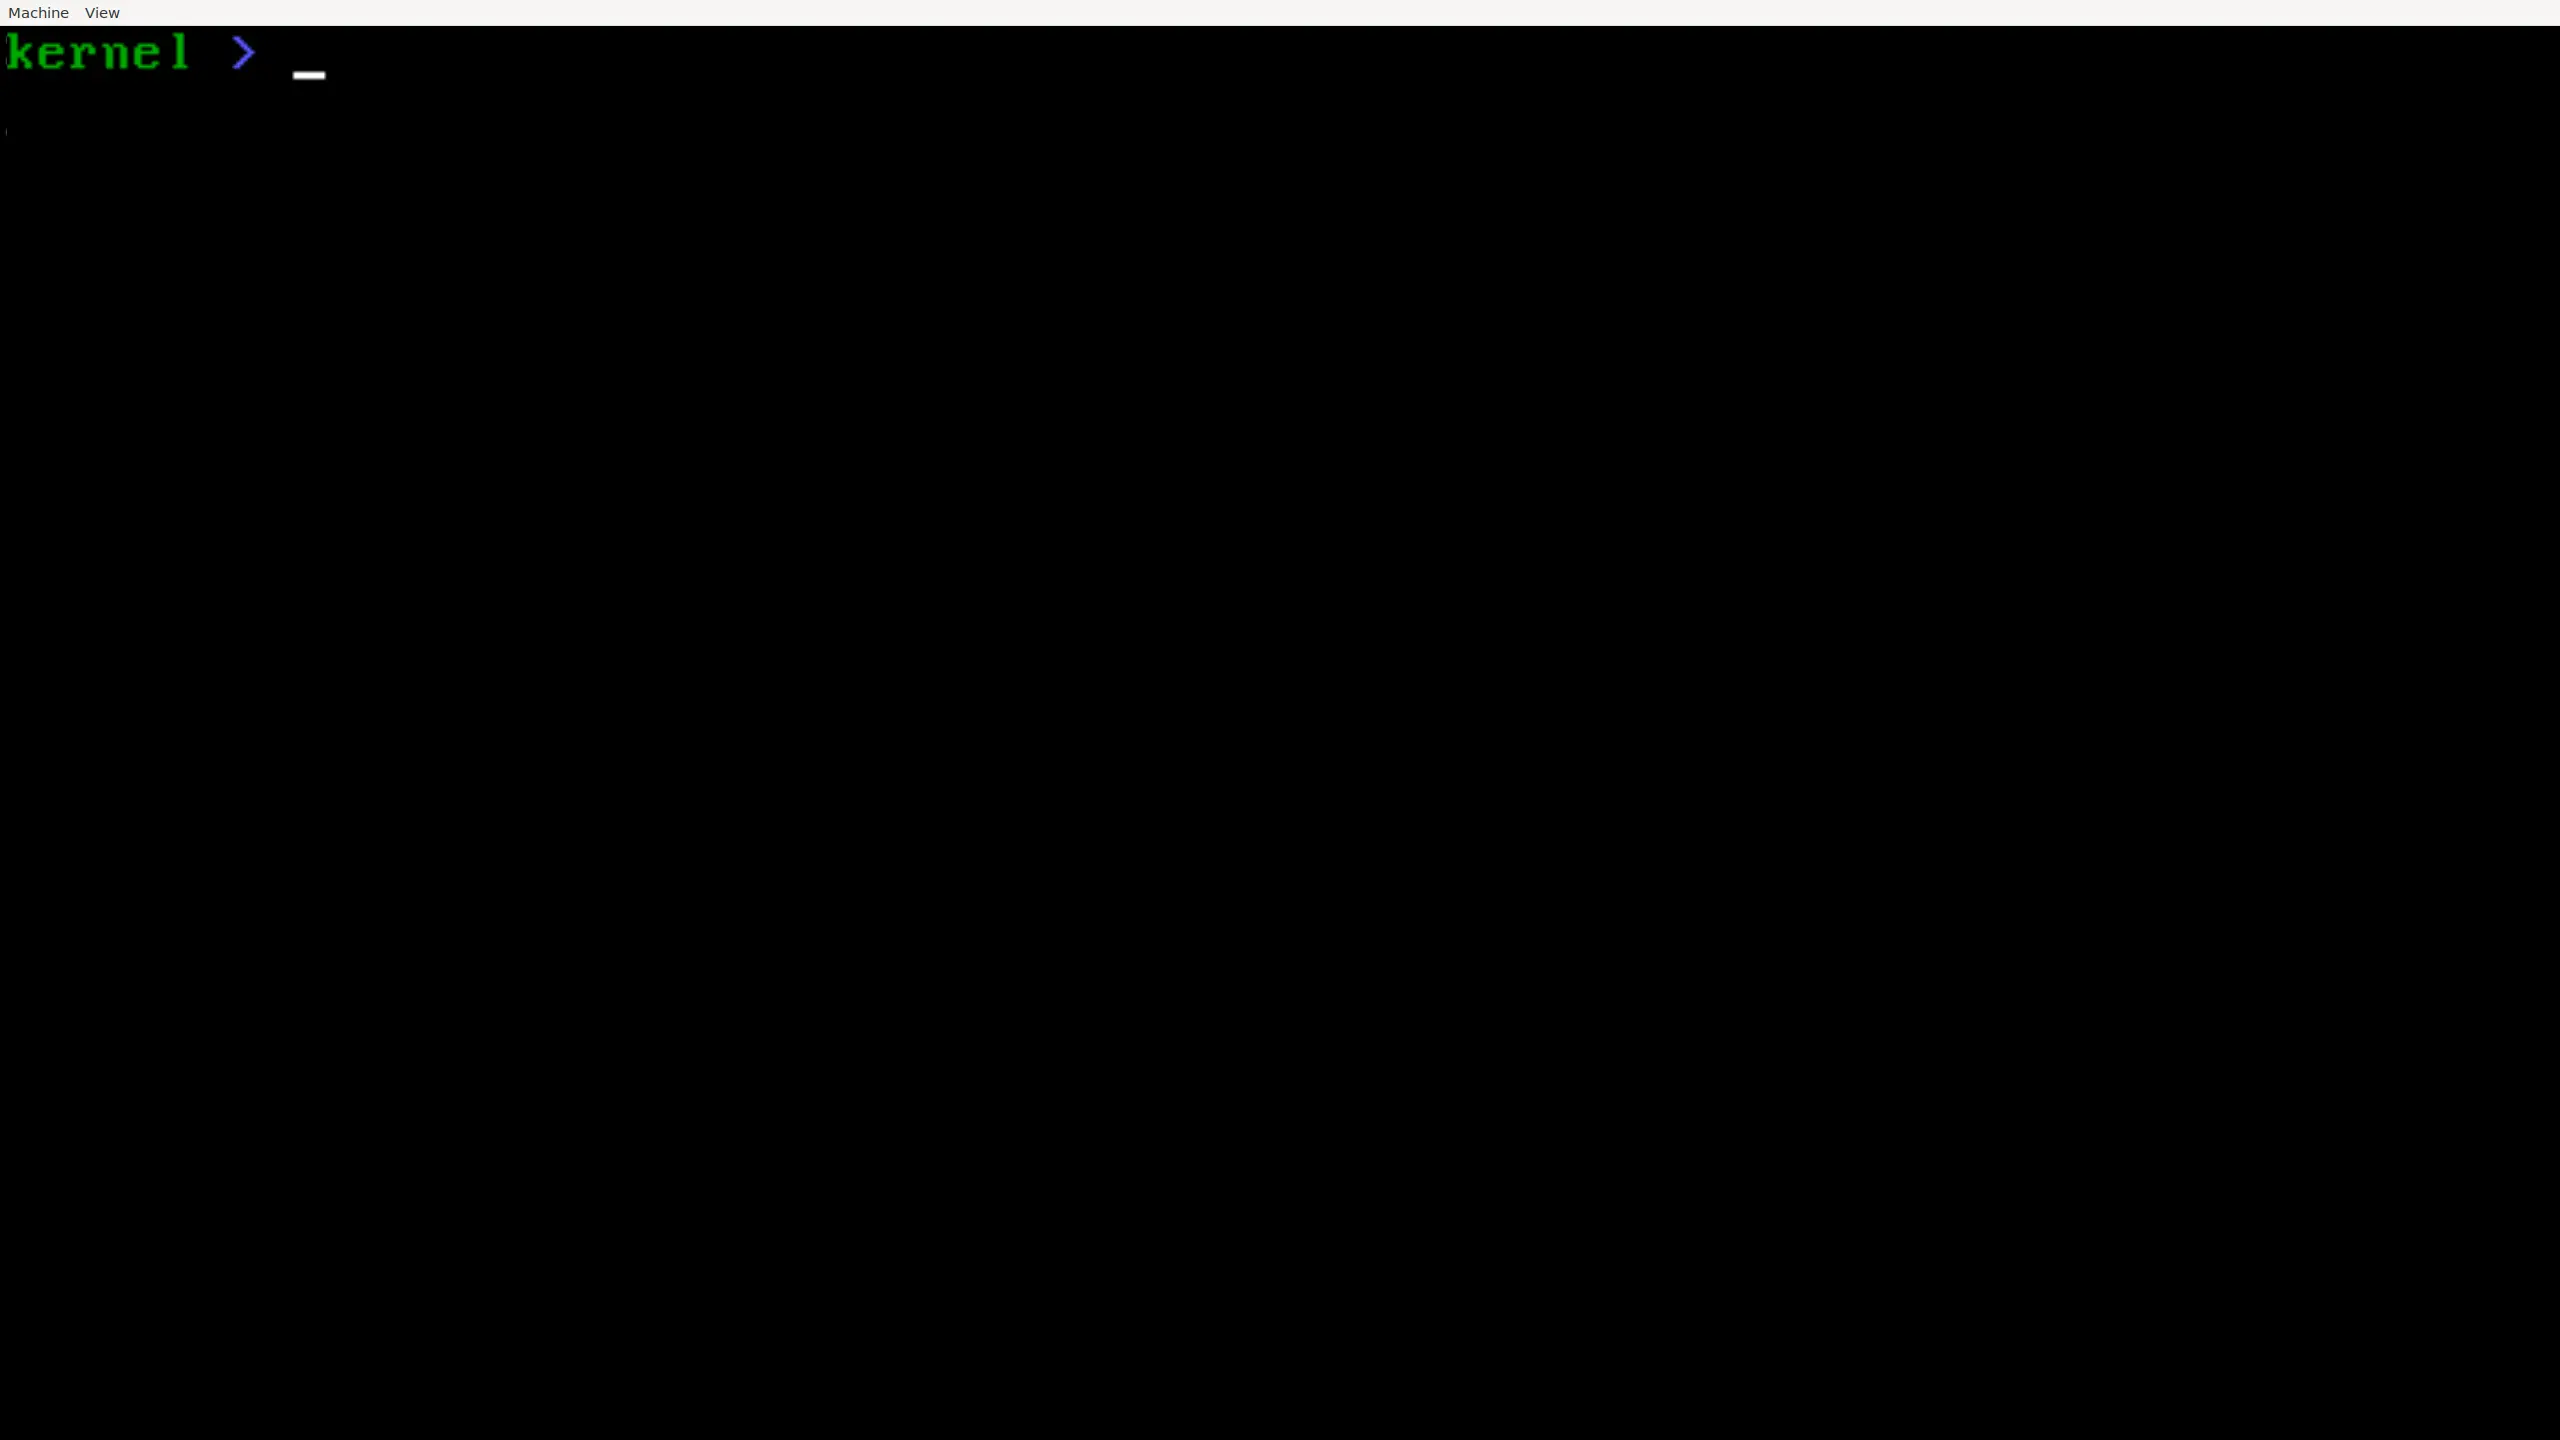
Now that we're done with src/Console.zig, lets go back to src/main.zig and finish this:
const Console = @import("Console.zig");

fn main() void {
    Console.init();
    Console.setColor(.green, .black);
    Console.write("kernel ");
    Console.setColor(.light_blue, .black);
    Console.write("> ");
}
os
├── src
│   ├── Console.zig
│   ├── main.zig
│   └── utils.zig
├── build.zig
└── linker.ld